Getting Started
Welcome to LookPilot
Welcome to LookPilot! This short guide will help you start tracking and get into your first game.
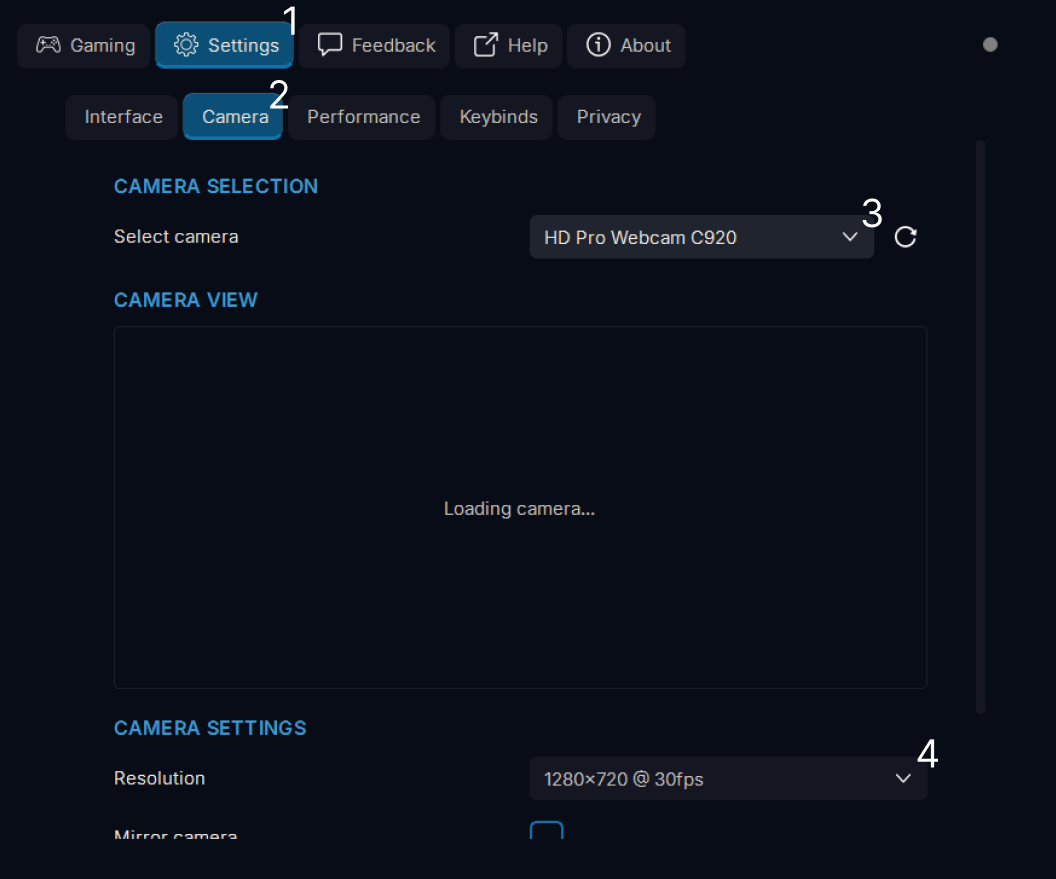
Camera setup
First, make sure your camera is connected. Go to Settings (1) → Camera (2), choose your webcam in the dropdown (3), then select a resolution and FPS (4). Higher FPS usually feels better, but image quality matters — don't pick the lowest resolution. Confirm you can see yourself in the preview.
Start tracking
You're ready to start. Click Start button (1) or press Alt+T (customizable in Settings → Keybinds) in the output pose visualization to start tracking. If needed, re-center with the Center button (2) or press Alt+C (customizable in Settings → Keybinds). Then launch your game.
![]()
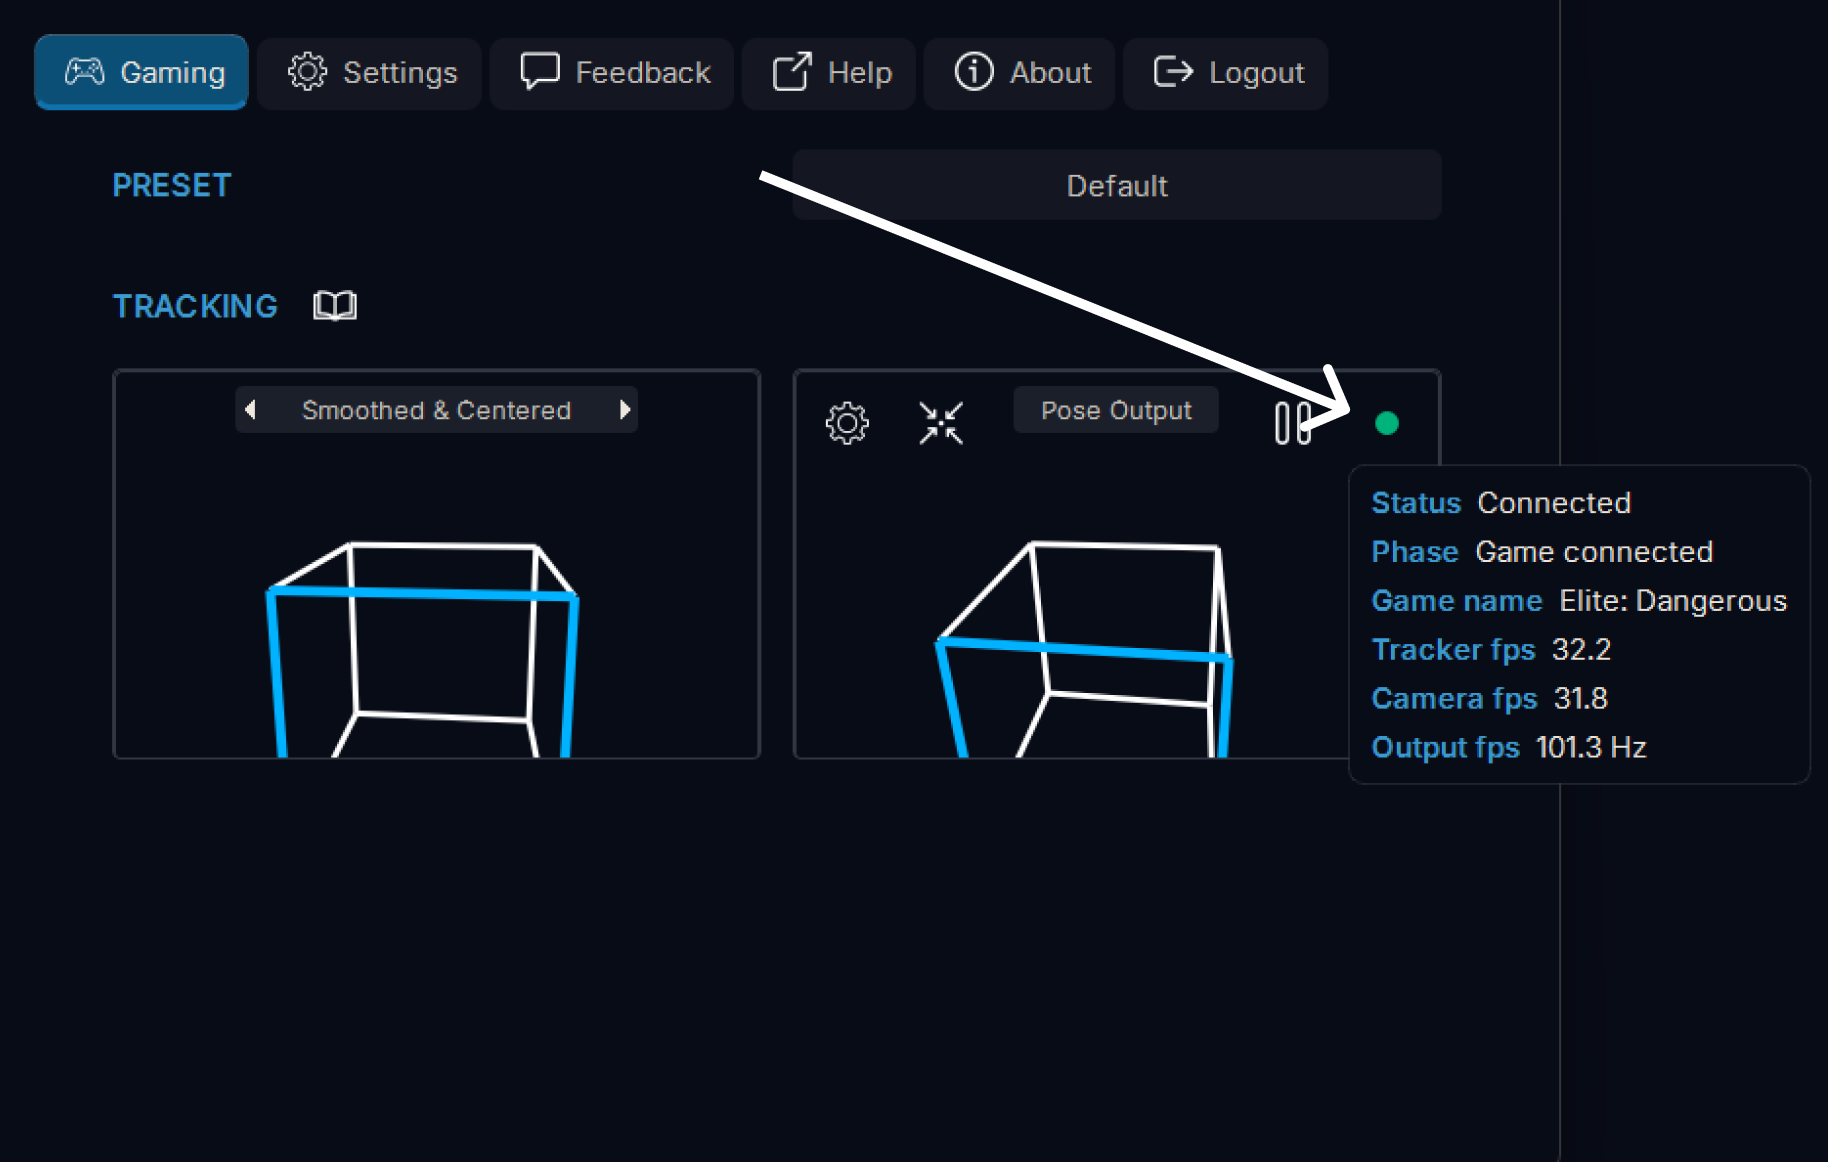
Status indicator
To view tracking status, hover the indicator next to the start button in the output pose visualization. It shows connection status, the current game, and FPS (1).
Open guides
Some games need a bit of setup. Open the game-specific guides by clicking the book icon next to the Tracking header in the Gaming tab (1).

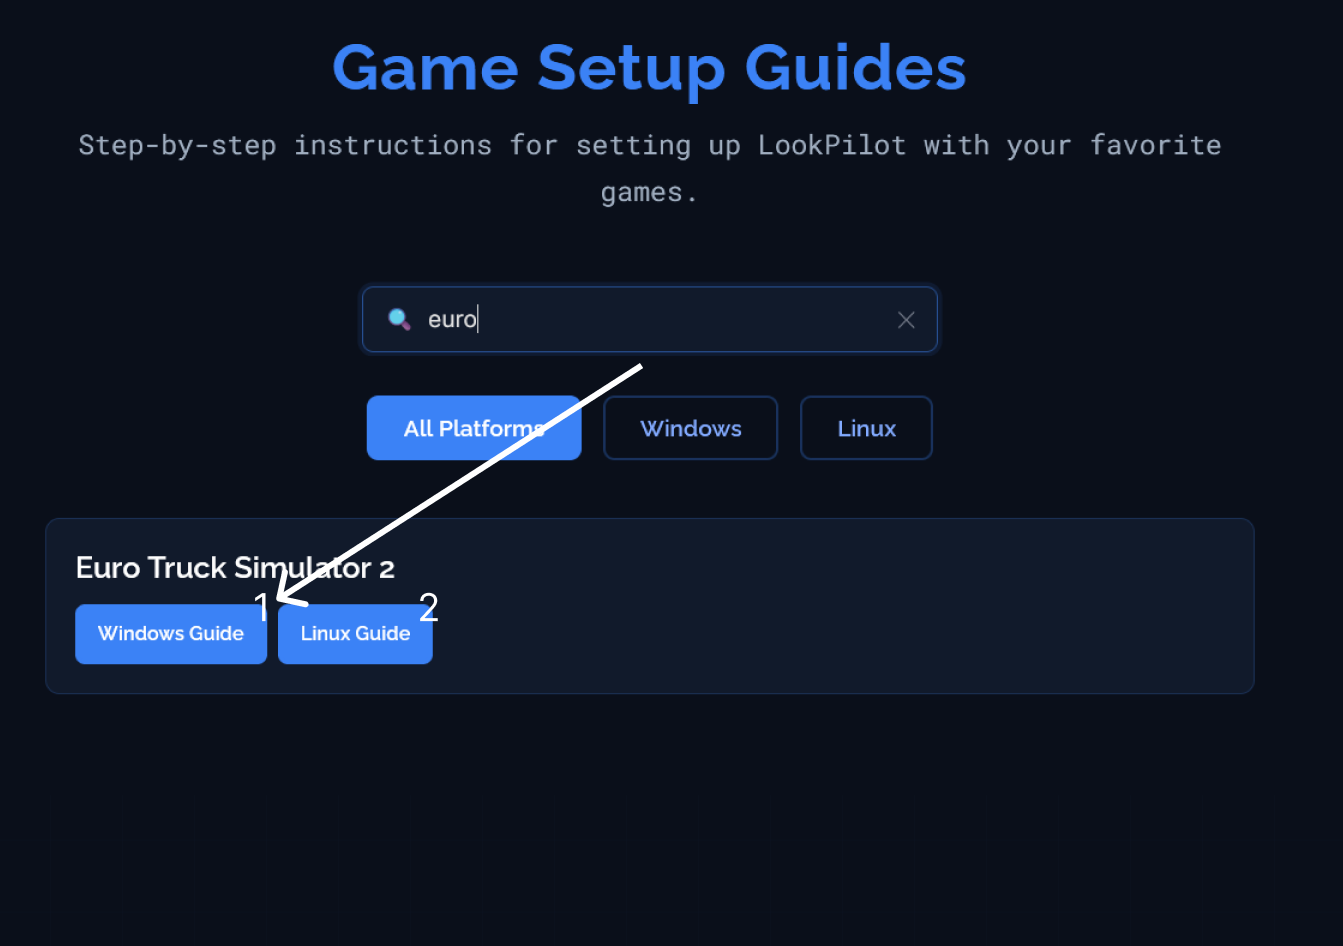
Find your game
Find your game and open the guide for your operating system — Windows (1) or Linux (2).
Follow the guide
Here's an example guide. For Euro Truck Simulator 2, no extra setup is required — it should work out of the box.

Customize your tracking experience
To customize your tracking experience, click the Settings button in the output pose visualization to open the Tracking settings window.
![]()
Tracking settings
In the Tracking settings window, you can adjust all kinds of settings to customize your tracking experience. Toggle which axes you want to track, adjust the sensitivity and much more. You can inspect each setting by hovering over it to see a tooltip.
![]()
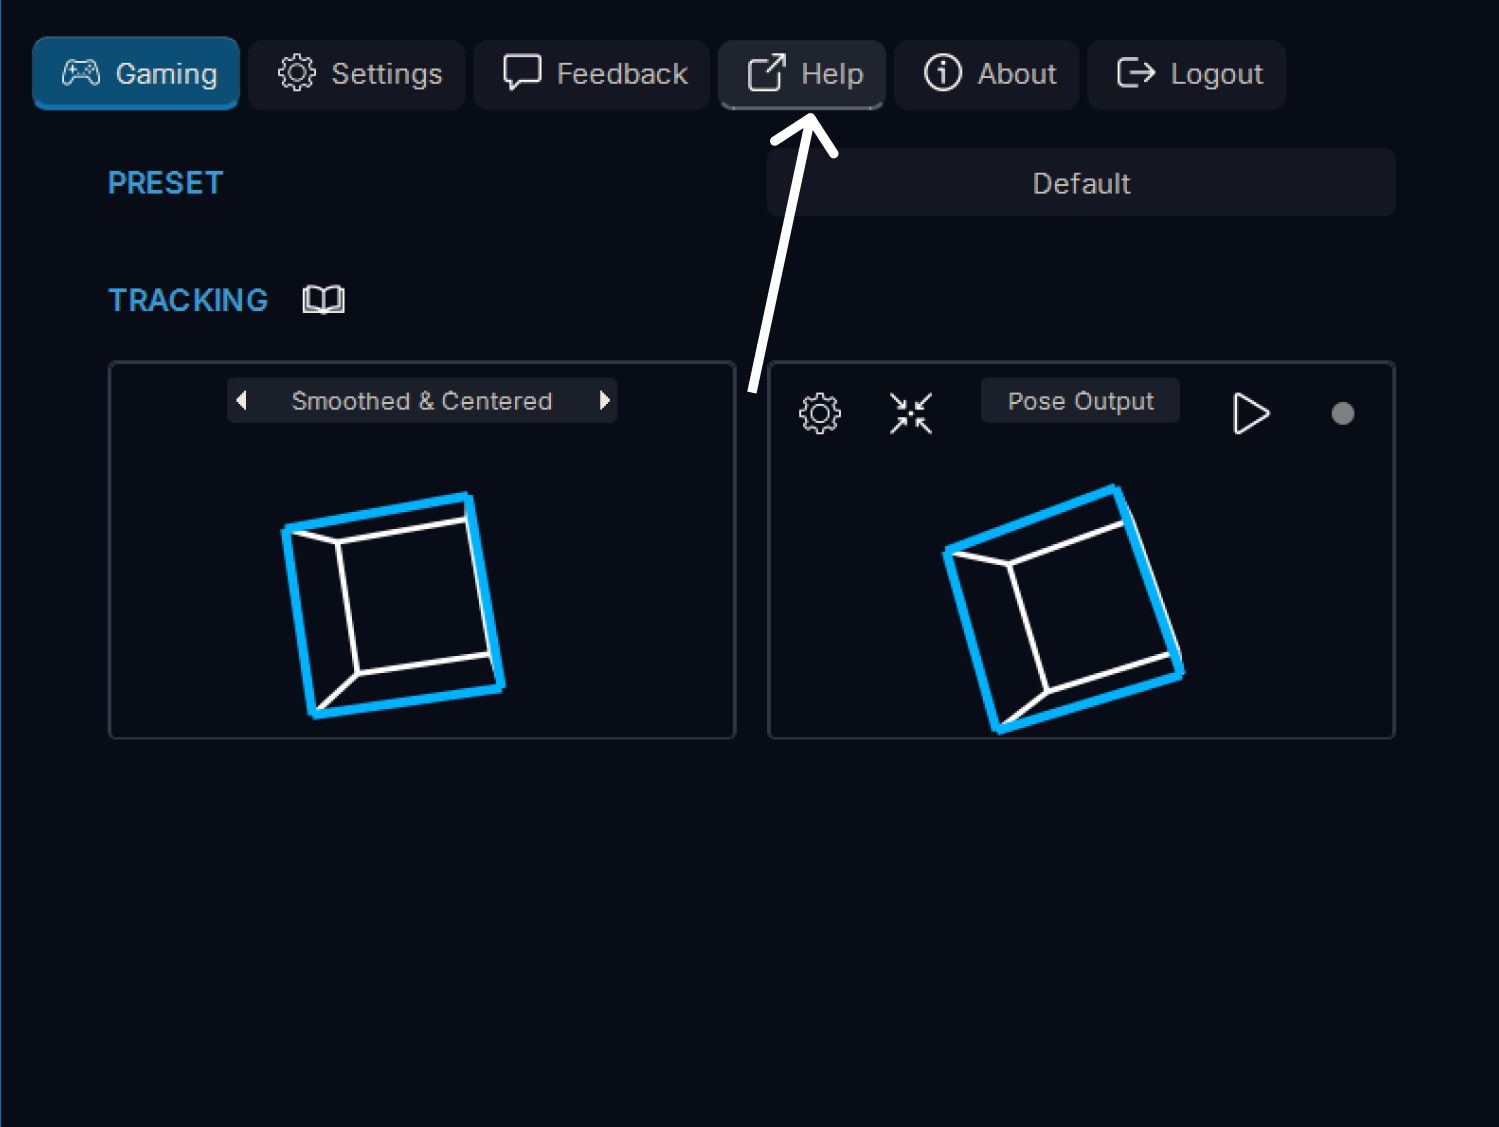
Need more help?
That should be enough to get you started! For more detailed information or help, click the Help button to open more comprehensive guides. You can also join our Discord community to get help, share feedback, report bugs, or just chat with other users. Welcome to LookPilot!